
2. Prepare the Chicken
Butterfly the Chicken: Using a sharp knife, butterfly each chicken breast by cutting horizontally through the thickest part of the breast, creating a pocket. Be careful not to cut all the way through.
Season the Chicken: Season both sides of the chicken breasts with salt, pepper, dried oregano, and dried basil.
3. Stuff the Chicken
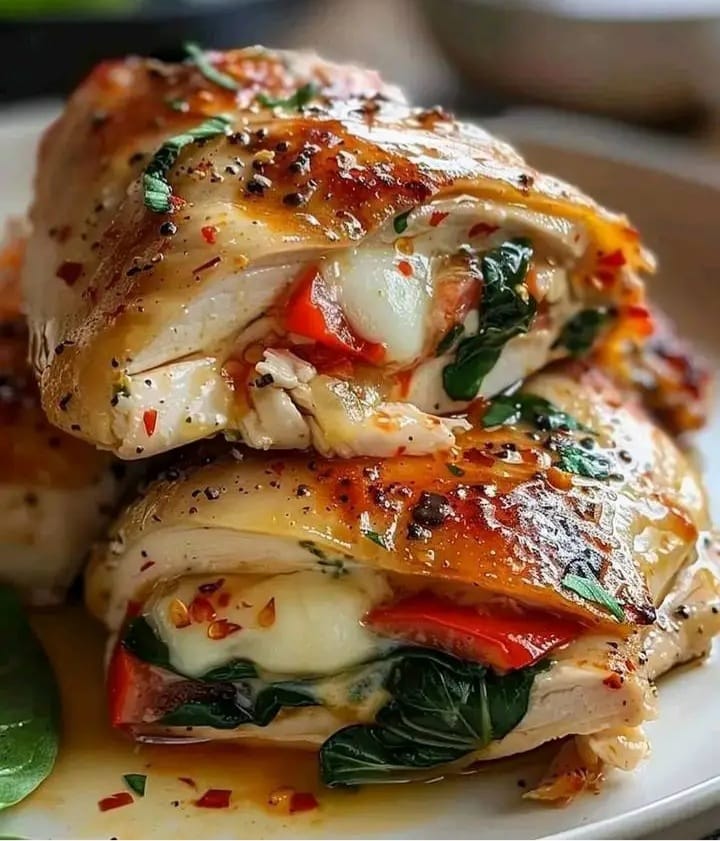
Fill the Chicken: Divide the filling mixture among the chicken breasts, stuffing each pocket with the red pepper, spinach, and mozzarella mixture. Secure with toothpicks if needed to keep the filling inside.
4. Coat the Chicken
Prepare Coating Ingredients: Set up a coating station with three shallow dishes. Place the flour in the first dish. Beat the eggs in the second dish. In the third dish, combine the breadcrumbs, grated Parmesan cheese, garlic powder, and paprika.
Coat the Chicken: Dredge each stuffed chicken breast first in the flour, then dip into the beaten eggs, and finally coat with the breadcrumb mixture, pressing lightly to adhere.
5. Cook the Chicken
Heat the Oil: Heat the remaining 1 tablespoon of olive oil in a large oven-safe skillet over medium-high heat.
Sear the Chicken: Add the coated chicken breasts to the skillet and sear for 3-4 minutes on each side until golden brown.
Bake the Chicken: Transfer the skillet to a preheated oven at 375°F (190°C) and bake for 20-25 minutes, or until the chicken is cooked through and the internal temperature reaches 165°F (74°C).
6. Serve
Remove Toothpicks: Carefully remove any toothpicks used to secure the chicken.
Slice and Serve: Slice the stuffed chicken breasts and serve with a drizzle of warmed marinara sauce if desired.
Tips for Success
Even Cooking: Ensure the chicken breasts are of even thickness for uniform cooking.
Prevent Overcooking: Use a meat thermometer to check for doneness without overcooking the chicken.
Secure Filling: Use toothpicks to secure the filling if needed, and remember to remove them before serving.
ADVERTISEMENT
Pages: 1 2
